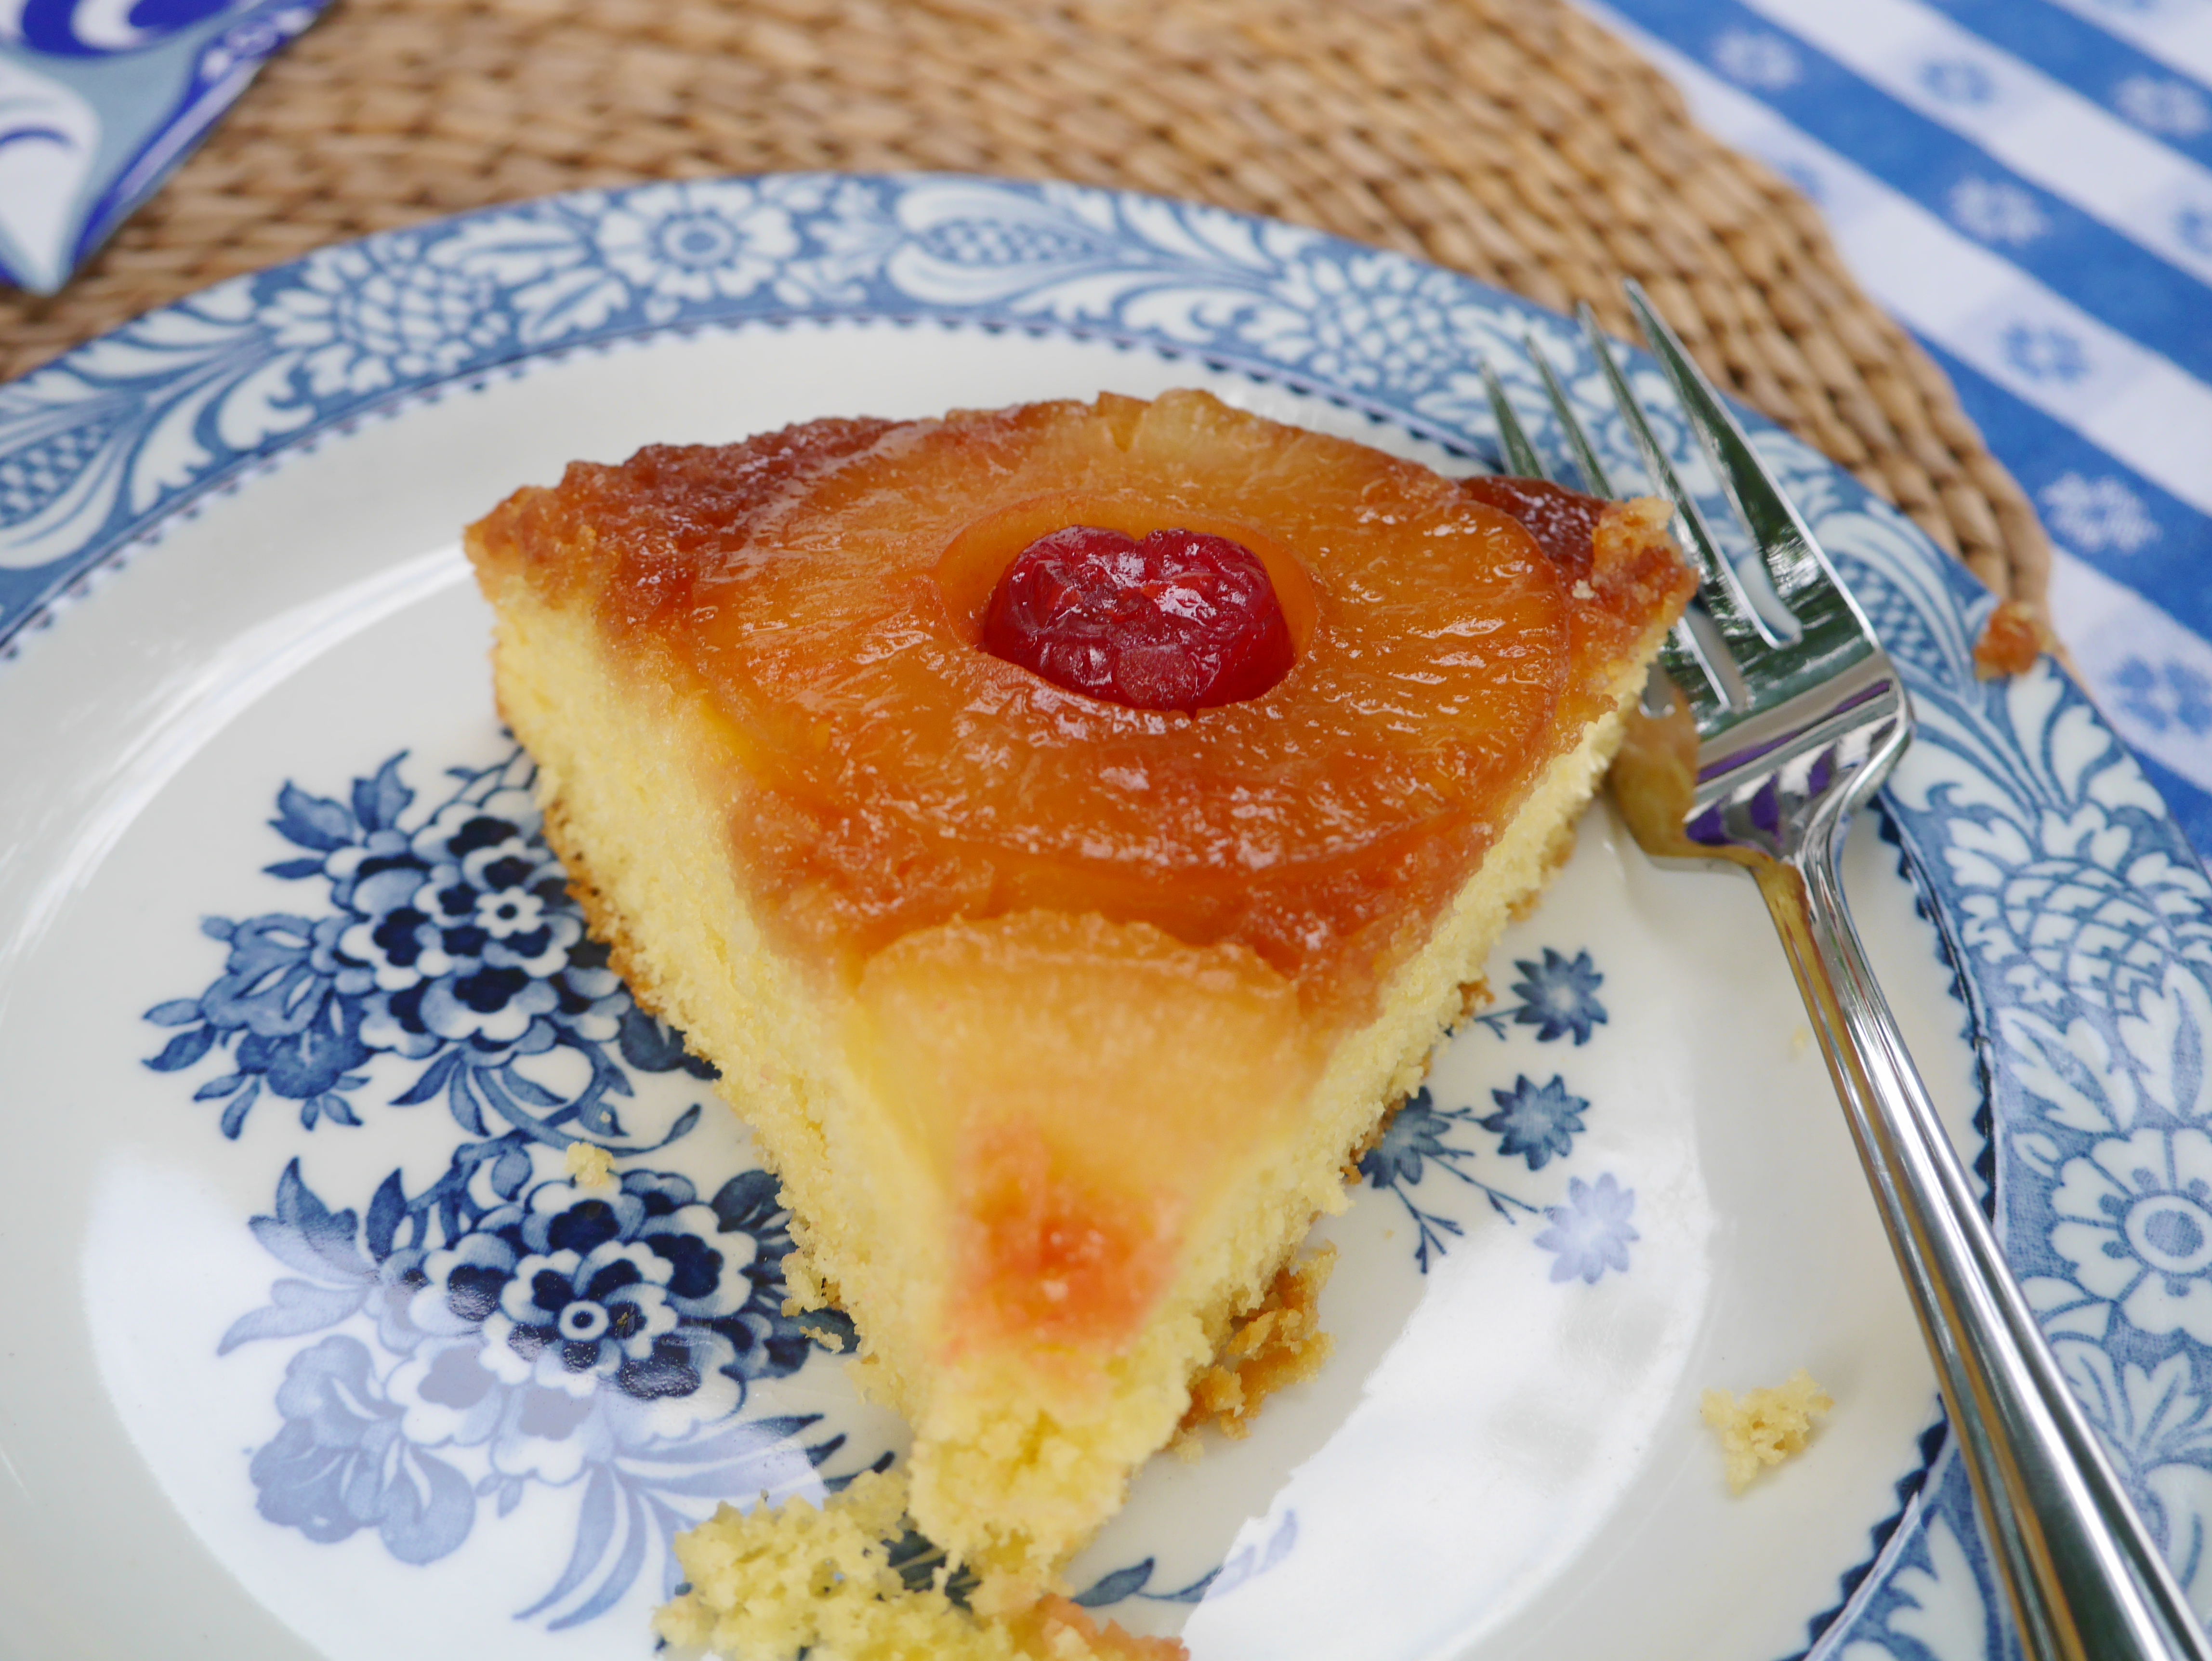
About Feast Everyday

Based in Corning, New York and the beautiful Finger Lakes. Started in 2009 by Barbara Blumer with her family and friends. Her husband, Tom, now regularly contributes, too.

Over 900 Recipes and still growing

From muffins to curries with step-by-step photos and how-to tips: see recipe index https://feasteveryday.blogspot.com/p/recipes-index.html

Search This Food Blog

Monday, August 31, 2020

Pineapple Upside Down Cake

An American Classic
Pineapple upside-down cake is an old-fashioned cake, popular for good reasons.  It's striking looking and is moist and flavorful without being cloyingly sweet.  Easy to assemble.

I found this specialty cake pan ---including the typed recipe--- among my late Aunt Shirley's kitchen items when we cleaned out her condo. She enjoyed baking and making candy, and had an assortment of vintage items like jello molds and other 70'- 80's novelty desserts.  
Nordic Ware still makes a cake pan like this.  But my research says that her yellow one is probably from the 80's when they ran a national ad.   Here is a clipping from 1982 in the Pittsburgh paper, which could be how my aunt Shirley acquired hers.  

It turns out that upside-down cakes have been popular for centuries. They were first made in cast iron skillets, with a topping melted in the pan, then a cake batter added.  When done, the pan was turned upside down and the round cake would have a beautiful syrupy topping.  

However, the ubiquitous one we know today came about in 1925.  Dole Pineapple wanted to promote the use of their pineapple slices and held a contest. And marachino cherries had just been "invented" by the Oregon cherry industry.

In the beginning, the cake was made from scratch.  But by the 80's a store-bought cake mix was standard.

We chose a Duncan Hines Yellow Cake mix.  The recipe only calls for half of the mix, so I made a bonus cake with mandarin oranges.  But you could make cupcakes or mini-loaves, too.  

---Barbara

Pineapple Upside Down Cake

1/4 cup butter
1/2 cup bown sugar
7 slices pineapple (No. 2 or 1 lb. 4oz can)
2 T. of juice from the can
Marachino cherries
1/2 of the batter from a white or yellow cake mix*
    Cake mixes usually take 3 eggs, 1/2 cup oil, and 1 cup water

*use the 2nd half of the cake batter for a 2nd cake or cupcakes

Preheat the oven to 350 degrees.

Even though the photo doesn't show it, I would recommend cutting up the butter into small pieces and spread around the cake pan.  Add the 2 T. of juice from the can of pineappple slices.  Spread the brown sugar around the cake pan.
Place in the oven and let the butter and sugar melt.  Remove.

Arrange the pineapple slices --- one in the center and 6 more around the edge in a circle.
Remove the stems from 7 maraschino cherries and place them in the center of each pineapple slice.

Prepare the cake mix per the package directions.

For best results, I recommend using room temperature eggs, and thoroughly mixing the eggs, oil and water before adding the dry cake mix.  I sifted the cake mix, which can become compacted from sitting on the store shelf.  All of these steps will make a lighter, flufflier cake.  
Using a measuring cup, add two cups of batter to the prepared caked pan.  Carefully spread it all over the tops of the pineapple and syrup until you only have batter on top, and no syrup showing.

Use the remaining batter, which is about 2 more cups to make another cake, or cupcakes or miniloaves.
Bake for 35 minutes and test to see if it is done by inserting a toothpick.  It will come out clean when the cake is ready.  My cake took 40 minutes.  But it could take as long as 50 minutes, depending on the depth of your cake pan.  Likewise, if your pan is very shallow, it could take less time.
Remove from the oven and let stand for 5 minutes.  The cake will pull away from the edges.
Invert on to a serving plate.
Allow 2-3 minutes before removing the pan.
Serve warm with whipped cream or at room temperature which is how we prefer to serve it.  
We liked the ratio of pineapple topping to cake but you could use a whole cake mix (4 cups of batter instead of 2) if you like more cake.  

B

Thursday, August 27, 2020

Swordfish with Cilantro Lime Butter


Recently I have been creating aluminum foil packets for our fish, so Tom can cook it easily on the grill, and the fish remains moist.  

You can do any fish and flavor combination you like -- I've done halibut with lemon, chervil and garlic wrapped in a lettuce leaf, for example. 

This combination of cilantro, garlic and lime worked very well with swordfish, but could be used with any other fish you like.  

It's the technique that makes a difference:  En papillote*. The ingredients permeate the fish and creates a sauce; steaming keeps it tender and moist. 

---Barbara

*en papillote is a French term for baking food in a folded pouch, usually made of parchment paper.

Swordfish with Cilantro Lime Butter 

Serves 2

2 6-ounce swordfish steaks
2 limes
2/3 cup fresh cilantro sprigs
2 T. butter
1/4 t. garlic powder
salt
aluminum foil, preferably heavy duty

Tear off a large sheet of aluminum foil.

Slice the first lime, very thinly,  and create a bed of slices for each piece of fish.
Pat the fish dry, salt both sides, then place on top of the sliced lime beds.  

Then, sprinkle a generous amount of garlic powder on top.
Place a tablespoon of butter on top of each fish.

Add a bunch of cilantro on top of each piece of fish.

Squeeze 1/2 of the second lime over the top of both pieces of fish.

Save the second half of the second lime for use at the table, if desired.

To create a packet for grilling, bring the short sides up to the center, carefully fold the foil seam over at least three times, to be sure the juices do not run out.  Then fold each of the long sides over at least three times to be sure the juices do not run out.  It doesn't have to look nice, it just needs to be secure.

Grill on a hot grill for 10-12 minutes depending on the thickness of your swordfish steak.  
Carefully unwrap the fish --- it will be steaming hot --- and lift the fish on to serving plates, and add juices, and a slice of lime to each piece.

B

Sunday, August 23, 2020

Grilled Mexican Street Corn Salad from Christine


Shucking Season
We made a great roasted corn salad recipe twice this month!  I didn't take photos but I really recommend!

This salad can be made several days in advance.  Cover and chill until ready to eat.

---Christine

Grilled Mexican Street Corn Salad

Serves 8

6-7 ears fresh corn
1 cup diced red bell pepper
3/4 cup chopped scallions
1/2 cup chopped cilantro
1/2 cup crubled cotija cheese (or feta)
1/4 cup mayonnaise
2 T. fresh lime juice
1/2 teaspoon smoked paprika
salt and pepper

Preheat the grill to high.  Shuck the corn and remove any remaining silk strands. 

Grill the corn for 2 minutes per side, 8 minutes in total.  Remove.

Allow the corn to cool, then use a serrated knife to cut the corn off the cobs.  (I set a small bowl up side down in a larger bowl, so the cut corn falls into the larger bowl.)

To a salad bowl, add the diced bell pepper, scallions, and cilantro.  Add the grilled corn.  Toss to mix.

In a smaller bowl, whisk the mayo, lime juice and paprika together.  Toss the dressing into the salad.

Finally toss in the cheese, reserving a little to sprinkle on top.  Taste, and add salt and pepper as needed.  

Sprinkle cheese over the top and serve.  

Can be made several days ahead if covered and refrigerated.

---Christine

Thursday, August 13, 2020

Coconut Macaroons (Gluten Free) by Colleen

Gift-bagged and Ready to Give Away

Baking coconut macaroons but I needed to make them gluten free for a friend so I modified the recipe on the bag.  It is not too different, but it has a little less sugar and no flour. 

It is similar to other macaroon recipes I’ve seen, except it uses significantly more coconut.  The bag holds about 5 cups - most recipes call for 3 cups.  I think using the whole bag is smart to give you the coconut flavor and to use up a bag, because who needs a few ounces of coconut drying out in the fridge???

I am not even a huge coconut fan and I really like these.  I am going to try them with chopped toasted pecans next.

---Colleen

Coconut Macaroons (Gluten Free)

Makes 18-20

1 14 oz bag of Angel Flake coconut, toasted
1/2 cup sugar
4 egg whites
1 teaspoon almond extract
1/4 teaspoon salt


Layer the coconut on a sheet pan and toast at 350 for 5 minutes and let cool.  

Whip the egg whites, sugar, almond and salt together until frothy - the longer the better.  

Mix in the cooled coconut and use a small scoop to form cookies about 1 inch apart on a cookie sheet lined with parchment.  

Bake for 17-20 minutes in 350 degree oven  until set and lightly browned, but be careful not to overbake/overbrown. 

You can drizzle with chocolate or dip in chocolate if you like that flavor profile.

---Colleen